A Look Inside the Console
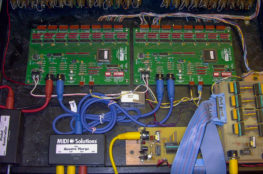
Most of the action takes place on a removable shelf behind the stop tabs. The Ahlborn units sit on either side of the MIDI-handling PC boards in the middle. Below is a photo with all the respective boards labelled:
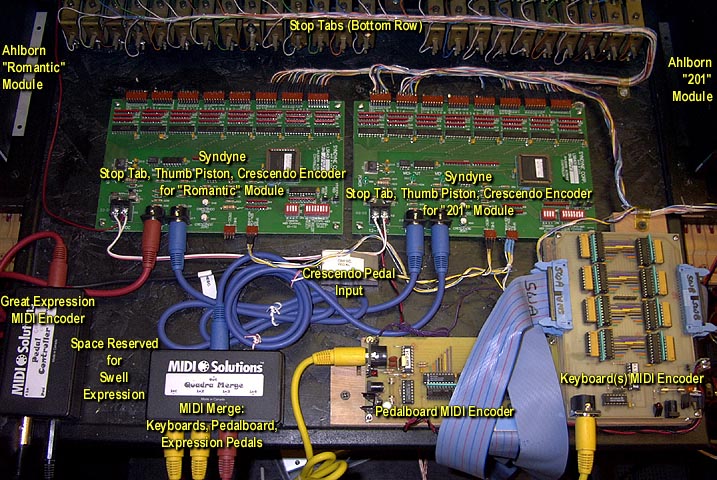
place the shelf in its specially-modified foot locker.
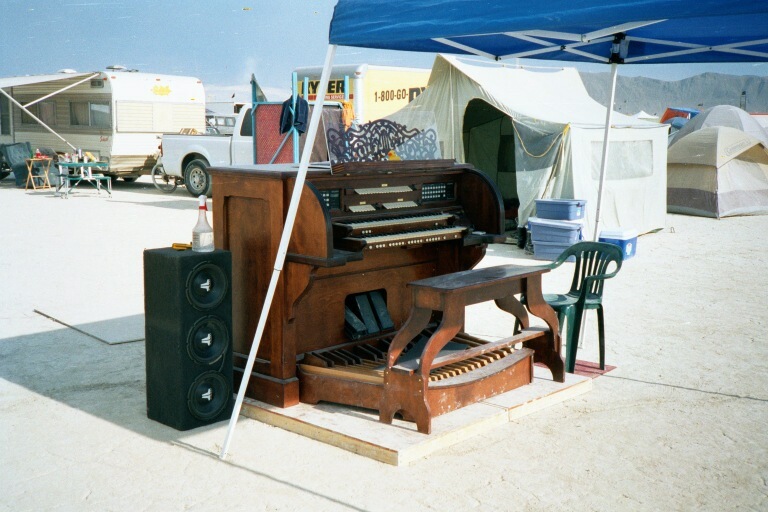
Below this shelf, sitting on top of the box that contains the expression pedals, is the amplifier. In the latest update to the organ for AC power, the power supply rests on the bottom of the console. The batteries could also fit inside, but we placed them outside so they could be easily serviced or exchanged without having to open the console. If we had jumper cables, it would have been amusing to hook up the batteries in front on the audience right before playing. In any case, I preferred to have the organ up and running well before a concert if possible.
Power
The batteries used were two large 6V golf cart batteries, wired in series to achieve 12V. The batteries delivered approximately 120 amp hours of power. Because of the efficient power usage (less than 6A at full organ with the lights on), a single pair of batteries would, theoretically, last 20 hours. We did not need to test this theory, because we had an extra set of batteries and switched over to them after less than 10 hours of use, just to be safe.
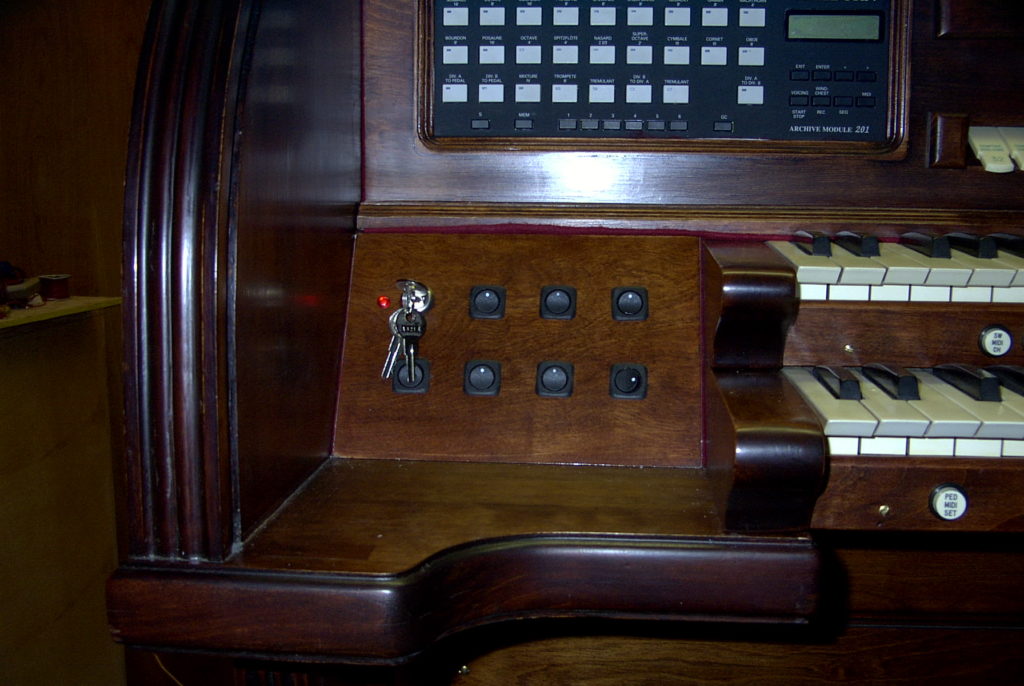
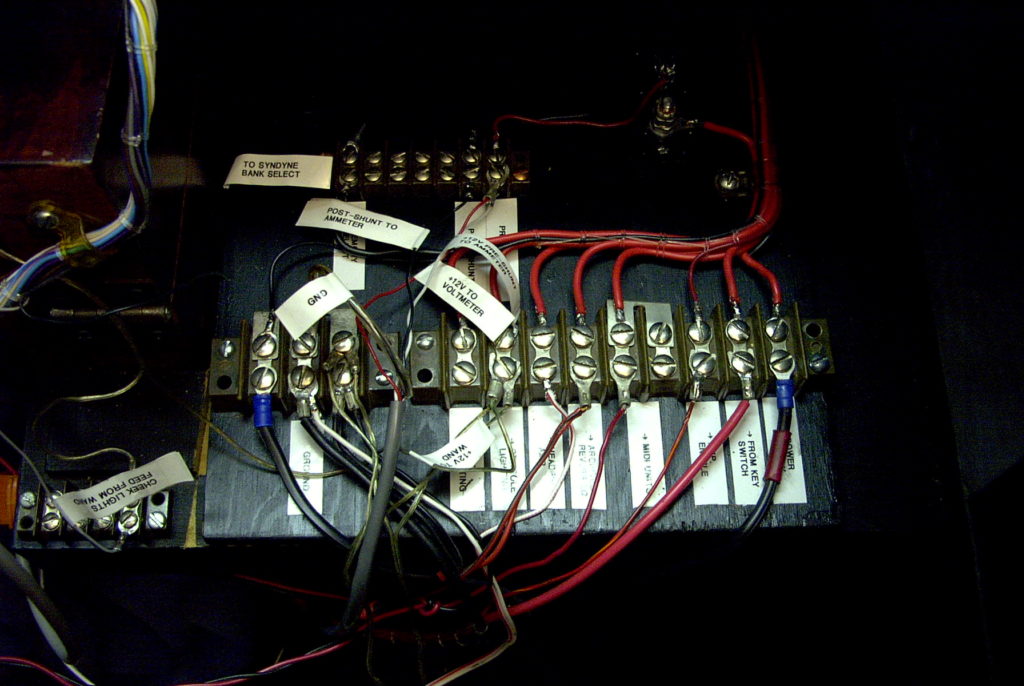
On the left side of the console is the power control area, consisting of a key switch to turn on the main power (it now switches 120VAC to the power supply; it used to switch on the 12V supply from the battery). The individual switches control MIDI system power, Ahlborn units power, amplification power (there is also a small headphone amp for practicing without draining the batteries), and console lighting. In addition is a bank select switch to control which combination memory is used (there are two banks of 15 memories for a total of 30 general combinations).
As mentioned above, the organ’s power draw was less than 6A at full organ. However, when our camp-mate loaned the subwoofers from his truck and 1200W amp to power them (a very pleasant surprise), our full-organ power consumption increased to over 22A when the 32′ stops were drawn. This wasn’t very often, and we only used the subwoofers during concerts, so our batteries held up fine.
Of course, when you design an organ to pull 3 to 6 amps, it is not unreasonable to select a 10A master fuse. It is also quite smart to bring a bunch of those fuses with you. But 22A is a different story. We had to jam the fuse holder with aluminum foil because we discovered this little design issue right before a concert. And the heat build-up on the under-rated key switch eventually melted portions of the casing, so it had to be replaced when I returned.
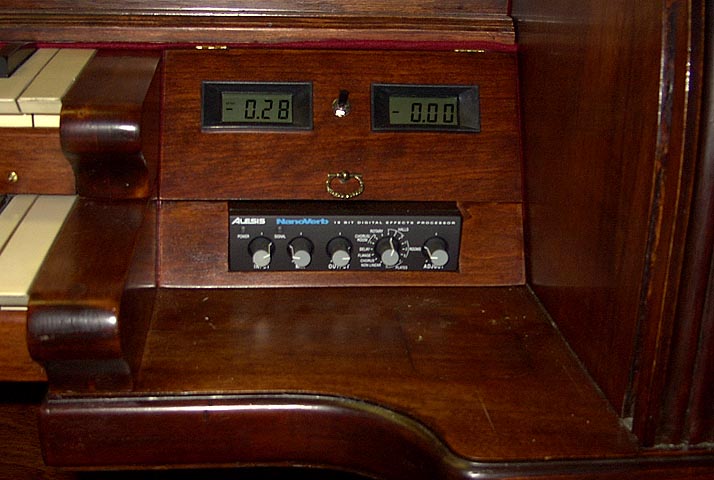
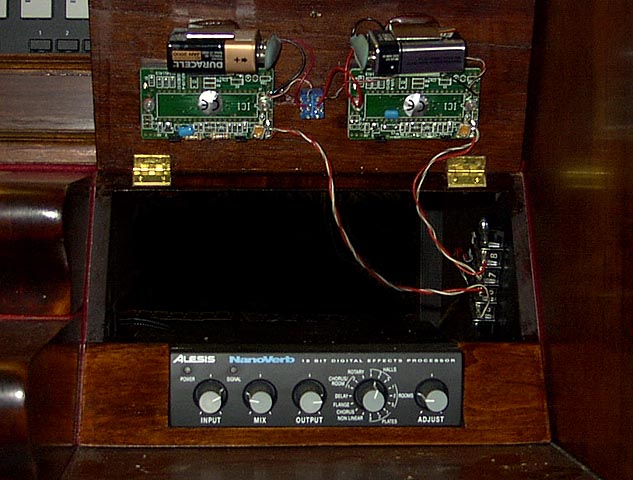
On the right side of the console is a panel housing a digital ammeter and a digital voltmeter. These two meters run on their own 9V batteries to completely isolate them from the power being measured. It’s kind of fun to observe how much “juice” you’re using as you open up an expression pedal and throw on pedal stops.
The panel opens on hinges. In the photo is the Alesis reverb currently used by the console. In the desert, a small car equalizer was in this slot, with the Zoom reverb hidden behind the door. Underneath the keydesk on the right-hand side is the headphone amplifier (not pictured.)
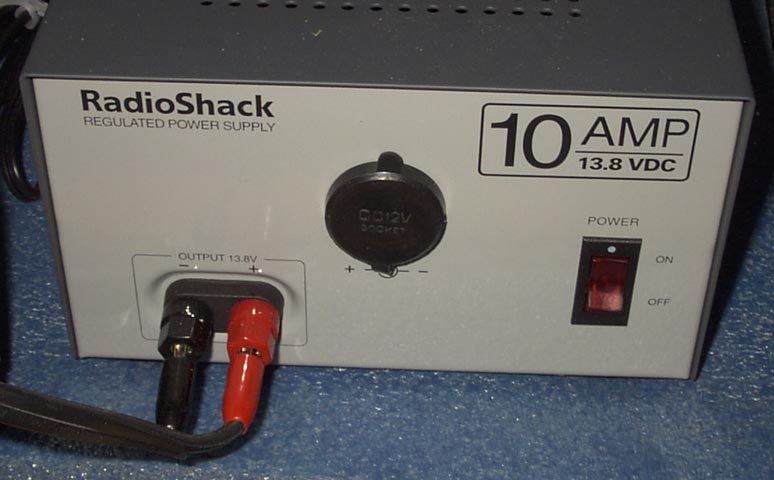
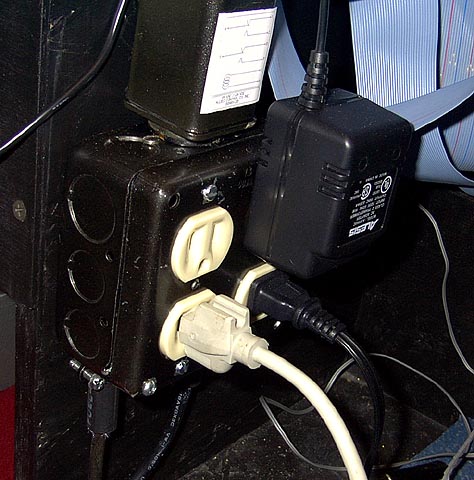
In the newly-tamed organ is a 10A Radio Shack power supply. (A separate AC powered self-contained subwoofer system has also been added, so the console power supply needn’t be too beefy.) The power supply is controlled by the key switch. When the power supply is on and outputting 12V, a 12V-powered relay switches on a 120V multi-outlet strip, into which the Alesis reverb is plugged, and other AC accessories may later be added.
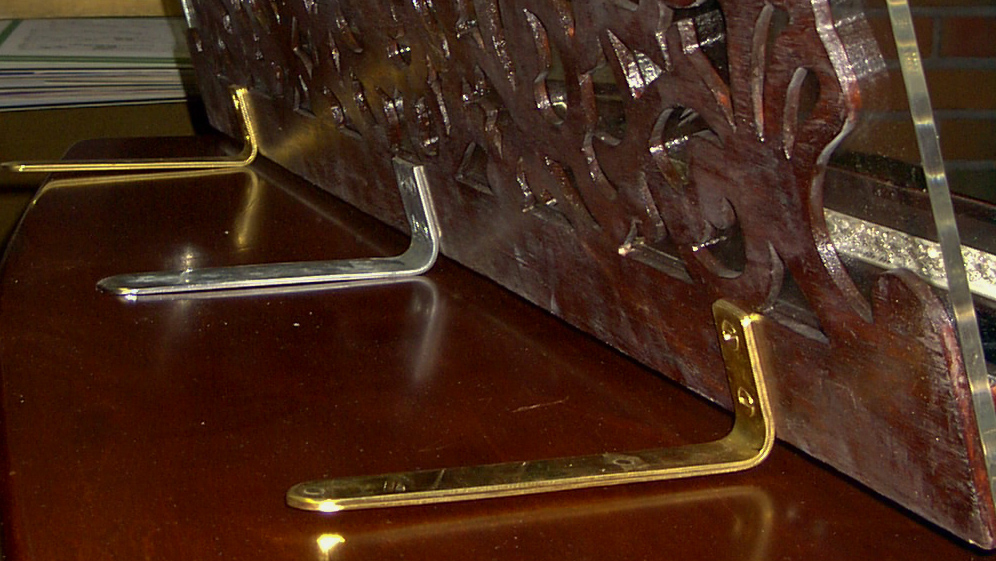
Because the music rack sat above the roll-top, it needed to be easily removable for storage at night and to protect it from the elements. Doug devised an ingenious “wireless” mounting scheme where the mounting brackets of the music rack also carried the 12V power. The left and right brackets are +12V and ground, while the middle bracket is for structural support.

